
| index | introduction | document properties | positioned elements | previewing | element properties | page backgrounds | images | grouping | alignment |
One of the design aims of the application was to provide a lightweight and fast way of creating CSS based page layouts. While other applications exist for creating these layouts, because they aim to be complete design tools, the process of designing layouts with them can be a little frustrating, and they also require sizable memory and processor resources. One of the ways we have made Layout Master so lightweight and fast is by avoiding having only a WYSIWYG mode. So far we have been working in what Layout Master calls wireframe editing mode. In this mode, we see only the element, its outline and its name. As we will see shortly, when the element has a background color and borders, these too are shown in this mode. For most purposes, wireframe is more than adequate, but there are times when users feel the need for a more WYSIWYG view of their layout. As we will shortly see this is most valuable when creating layouts where images need to be exactly aligned.
So, in addition to wireframe editing, Layout Master also provides WYSIWYG editing. Let's take a look at how this works now.
To enable WYSIWYG editing
1. choose from the menu, when the menu item is not checked
A tick alongside the menu item indicates that the current previewing mode is WYSIWYG.
To enable Wireframe editing
1. choose from the menu when the menu item is checked
This toggles WYSIWYG editing off.
Let's do that now. We'll be making a lot of use of this mode later in the tutorial.
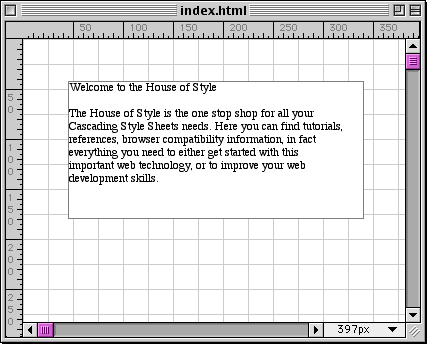
Here is what our layout will look like in WYSIWYG.

figure 9: WYSIWYG editing
Of course, we will also want to preview in web browsers. This is straightforward in Layout Master, but does need a little setting up the first time. Here is what we want to do.
Firstly, we need to tell Layout Master about the Preview Browsers we want to use.
To set up the preview browsers
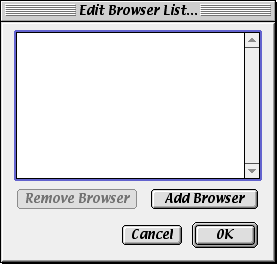
1. select the sub menu item from the menu item in the menu. The Edit Browser List... window opens

figure 10: edit browsers window
2. click , then locate the browser you want to add to this list. The name of the browser is added to the list in the Edit Browser List... Window
3. repeat this process until you have added all of the browsers you want to use for previewing
4. click . In the submenu in the menu we'll now find the names of all of the browsers we've added to our preview browsers list.
You'll find that Layout Master actually goes and finds versions 4, 5 and 6 (where they exist) of Netscape Navigator and Internet Explorer currently on your system, and these will appear in the Edit Browser List Window when you open it. You can of course remove any or all of these.
Next, we need to actually preview with one or more of these Browsers
To preview in a browser
1. choose the name of the browser you want to preview in from the submenu in the menu
If this browser is not currently running, Layout Master launches it, and then previews the layout in it. If the browser is running, Layout Master asks the browser to preview the layout in the currently open front window.
To preview a layout in all of the browsers in our browser list which are currently open, you can also click the button in the Launcher ![]() , or choose from the menu.
, or choose from the menu.
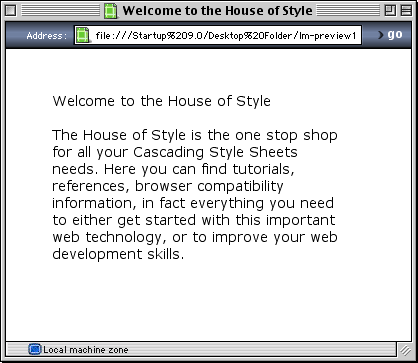
So far, we haven't got much, but here's what it looks like in Internet Explorer 5.0.

figure 11: previewing our work
Not too exciting so far I know, but stick around because things are just about to get interesting.
| index | introduction | document properties | positioned elements | previewing | element properties | page backgrounds | images | grouping | alignment |